May 20, 2026
Homeowners seeking durability and weather resistance gravitate toward metallic building materials for overhead protection. The decision to upgrade a property’s roof represents a significant milestone in property management. Metal panels offer immense structural integrity, shielding residents from harsh elements. Replacing an aging roof demands careful planning and expert execution. Understanding the intricate details of a roof installation project empowers property owners to make informed decisions regarding their investments. Knowledge replaces uncertainty, transforming a daunting structural upgrade into a manageable, organized home improvement journey.
The shift toward metallic roofs stems from distinct longevity advantages. Standard asphalt shingles degrade over decades, whereas steel and aluminum structures persist through generations, offering unmatched resilience. Proper assembly guarantees maximum lifespan and optimal performance against heavy rain, intense heat, and fierce winds. A meticulous approach governs every phase of the project, ensuring safety and precision. Exploring the mechanics of this comprehensive process reveals the craftsmanship required to secure a residence against unpredictable atmospheric conditions.
Phase One: Preparing the Substrate
A successful roof installation begins with a solid foundation. Contractors begin by assessing the existing deck structure. They search for any rotting wood, soft spots, or structural compromises that could jeopardize the new panels. Workers remove debris, old nails, and compromised materials to create a clean surface. A pristine deck prevents future complications and ensures a smooth application for subsequent layers. Proper evaluation prevents structural failures down the line.
After clearing the decking, attention shifts to moisture protection. Builders apply a synthetic underlayment over the bare wood. This protective sheet acts as a vital barrier against condensation and incidental water infiltration. The material breathes, allowing trapped vapor to escape while blocking exterior moisture. Contractors overlap the synthetic sheets with exactness, fastening them to the wooden deck beneath using plastic cap nails for secure holding power.
Flashing components require immediate placement after the underlayment. Technicians install metal drip edges along the eaves. These angled pieces direct water away from the fascia boards and into the gutters. Proper drip edge placement prevents moisture from wicking into the decking material, maintaining structural health. This crucial step safeguards the outer perimeter against water rot and decay.
The final preparatory task involves securing the valleys. Valleys endure massive water flow during heavy rainstorms. Workers place specialized flashing down these intersections to channel water toward the gutter system. Without valley protection, the entire structure remains vulnerable to persistent leaks. With all preparatory elements secured, the site awaits the metallic panels.
Phase Two: Positioning the Panels
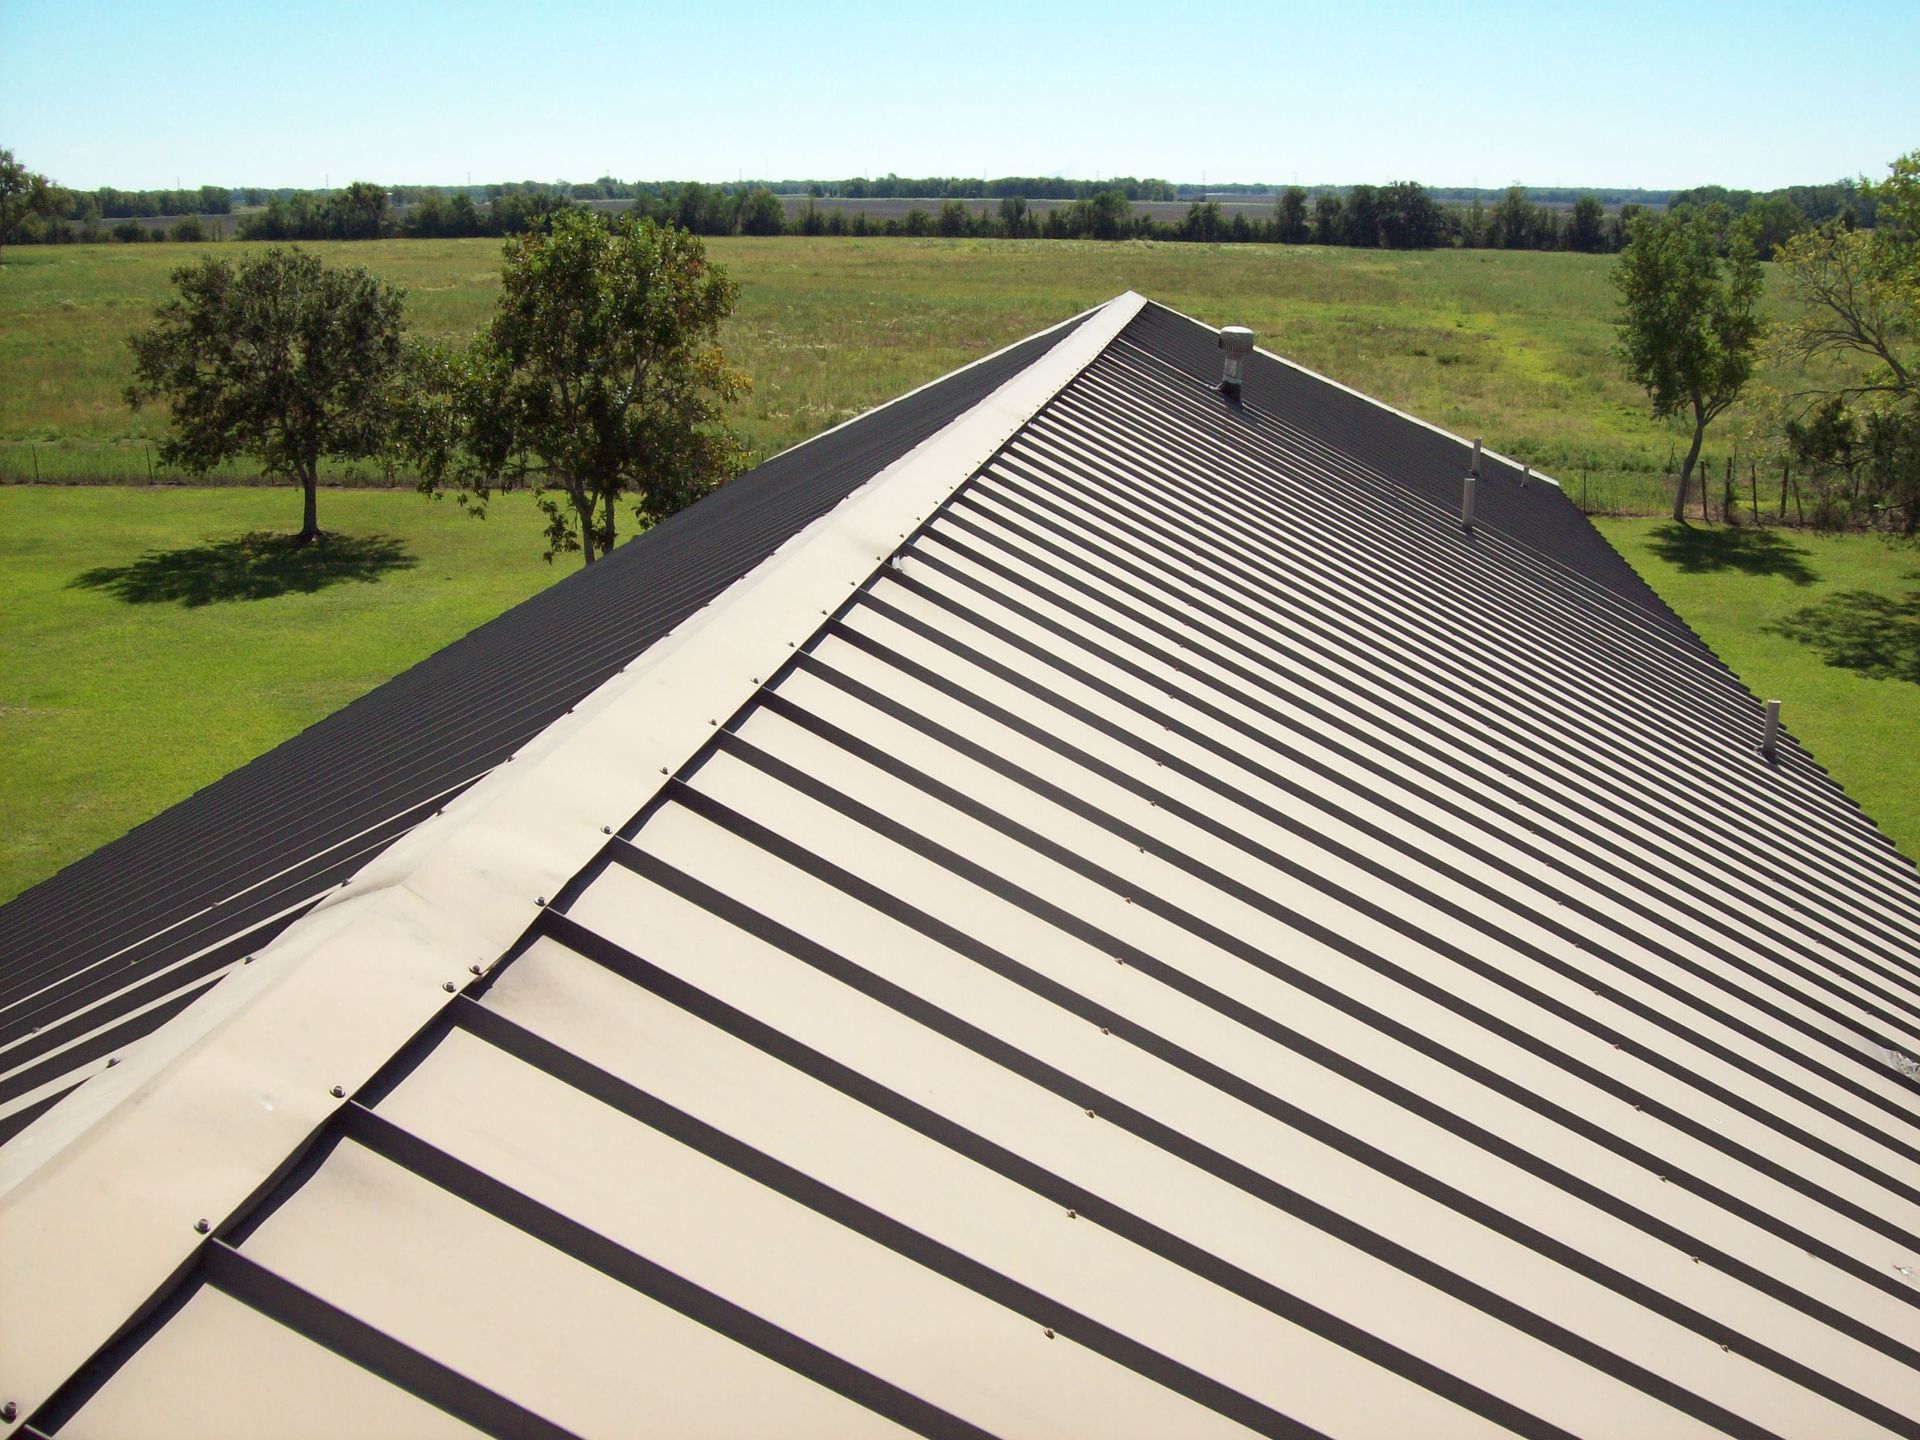
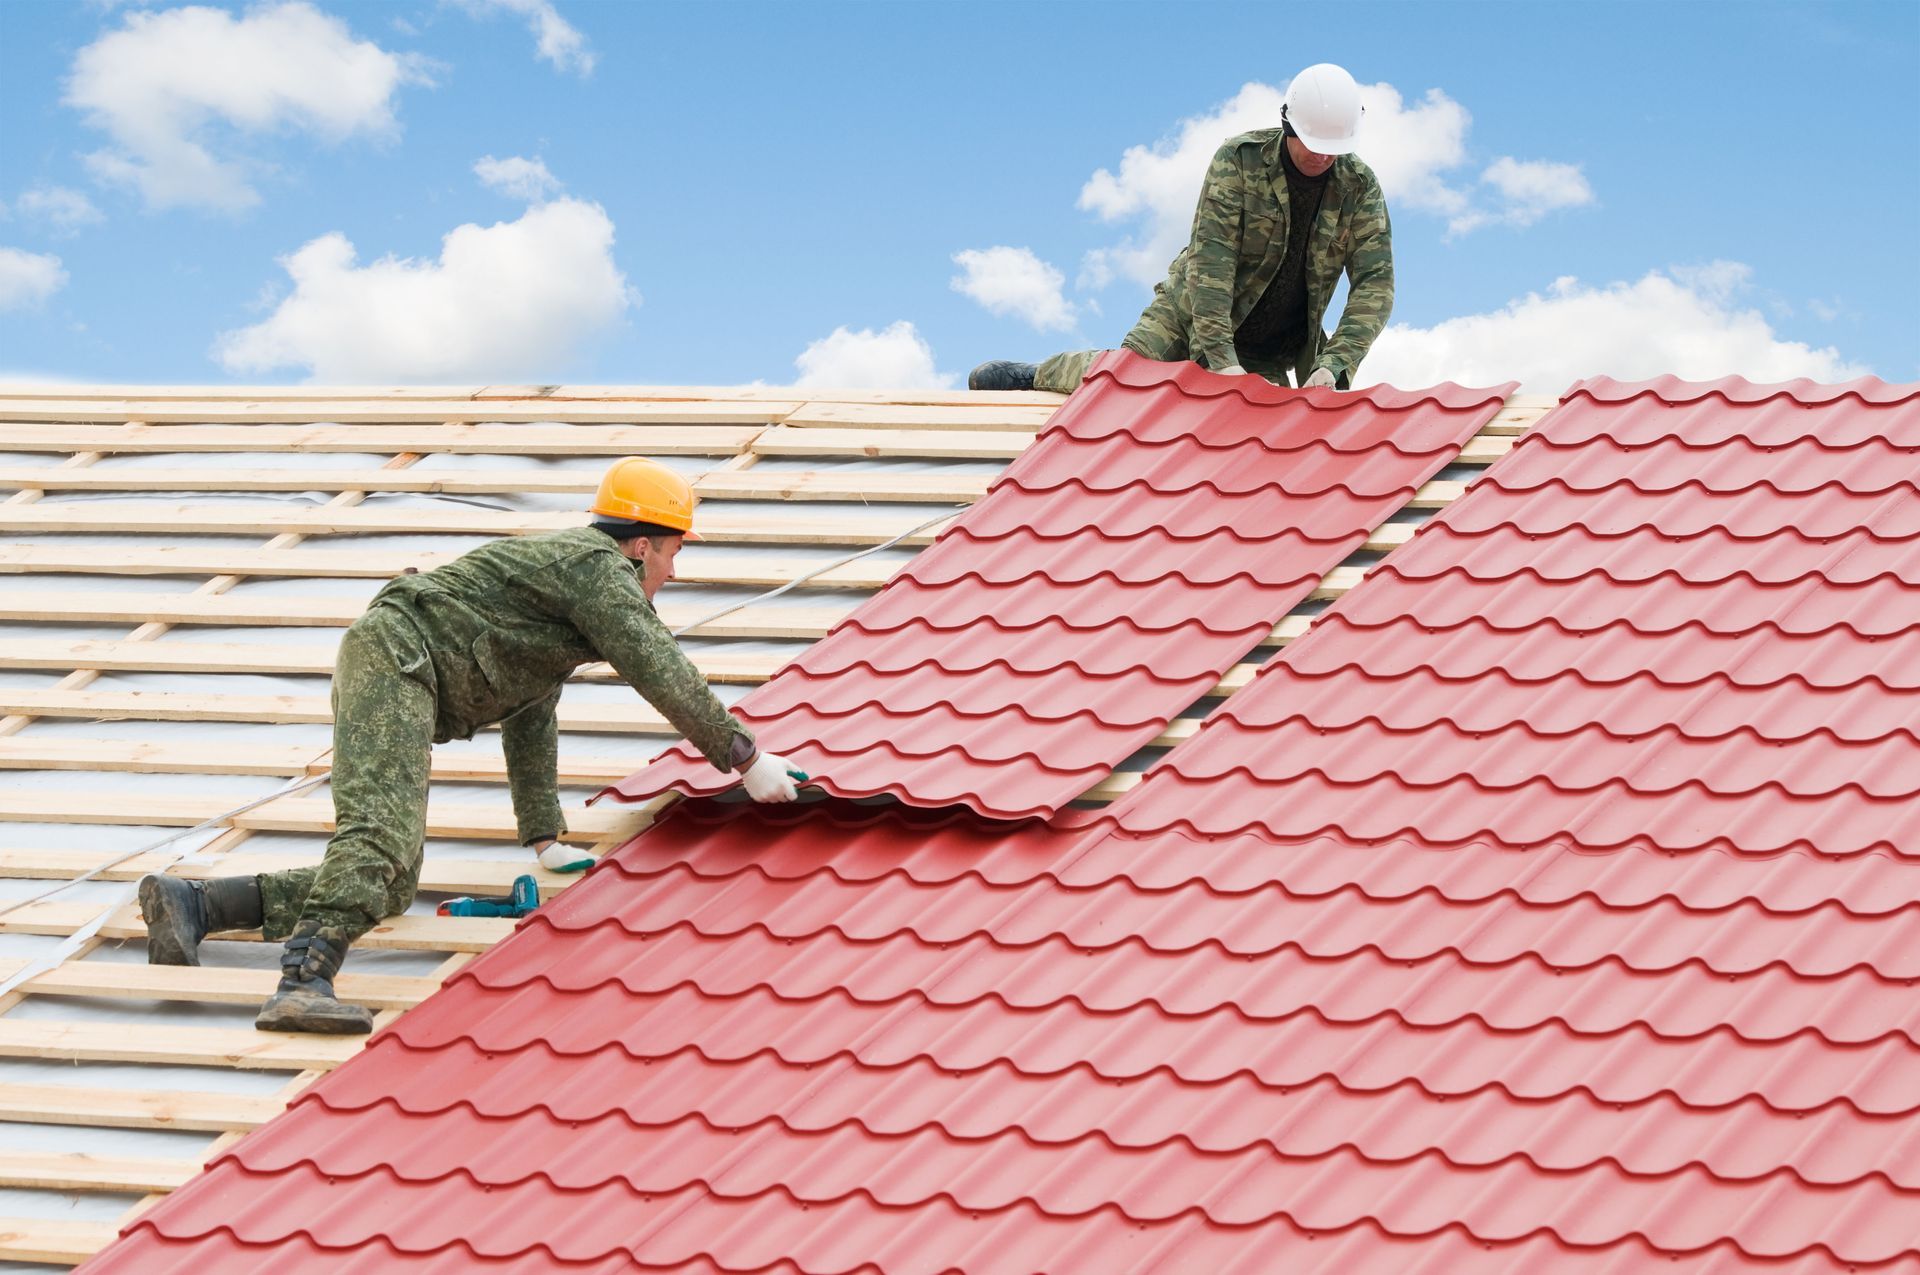
Panel placement demands precision and coordinated teamwork. Installers hoist the heavy metal sheets to the peak of the house. They align the initial panel along the rake edge, establishing a straight line for the entire array. Any deviation at this stage magnifies across the span of the structure. Builders use chalk lines to maintain strict alignment from eaves to peak.
According to This Old House, metal roofing can last from 40 to 70 years. Achieving this impressive longevity depends on correct panel alignment. Workers square each section against the eaves to ensure uniform overhangs. This uniformity protects the underlying wood from splashing rainwater. The systematic arrangement of panels dictates the visual appeal and functional strength of the finished surface.
Each sheet interlocks with the adjacent piece through specialized seam mechanisms. In standing seam systems, the edges of adjoining panels overlap and lock together. This interlocking design creates a raised seam above the drainage plane. Elevated seams prevent water intrusion, as the connection points rest above flowing rain. Installers crimp or snap these edges to form a watertight bond that withstands heavy downpours.
Cutting panels to fit specific angles requires specialized tools. Technicians use metal snips and shears to trim sheets around hips, ridges, and valleys. They fold the cut edges to seal the raw metal and prevent future corrosion. Proper folding techniques also eliminate sharp edges, enhancing safety for future maintenance tasks. Precision cutting guarantees a snug fit around every architectural feature.
Phase Three: Securing the Fasteners
Attaching the metallic sheets to the structural deck is a fundamental aspect of any roof installation. The choice of fastening system impacts the overall durability. Exposed fastener systems utilize screws driven through the panel face into the wood below. These screws feature rubber washers to seal the penetration point against moisture. Workers drive each screw with deliberate pressure to avoid crushing the protective washer.
Hidden fastener designs offer a different approach to attachment. Instead of piercing the metal face, builders use clips attached to the wooden deck. The raised seams of the panels fold over these hidden clips. This method allows the metallic material to expand and contract with temperature fluctuations. Thermal movement occurs without stressing the attachment points or elongating screw holes, preventing stress fractures.
Fastening requires strict adherence to manufacturer spacing guidelines. Builders space the clips or screws at exact intervals along the length of each sheet. Proper spacing guarantees adequate wind uplift resistance during severe storms. If fasteners sit far apart, fierce winds might tear the material from the decking. Strict attention to detail during this phase fortifies the home against extreme weather, including hurricane-force gusts.
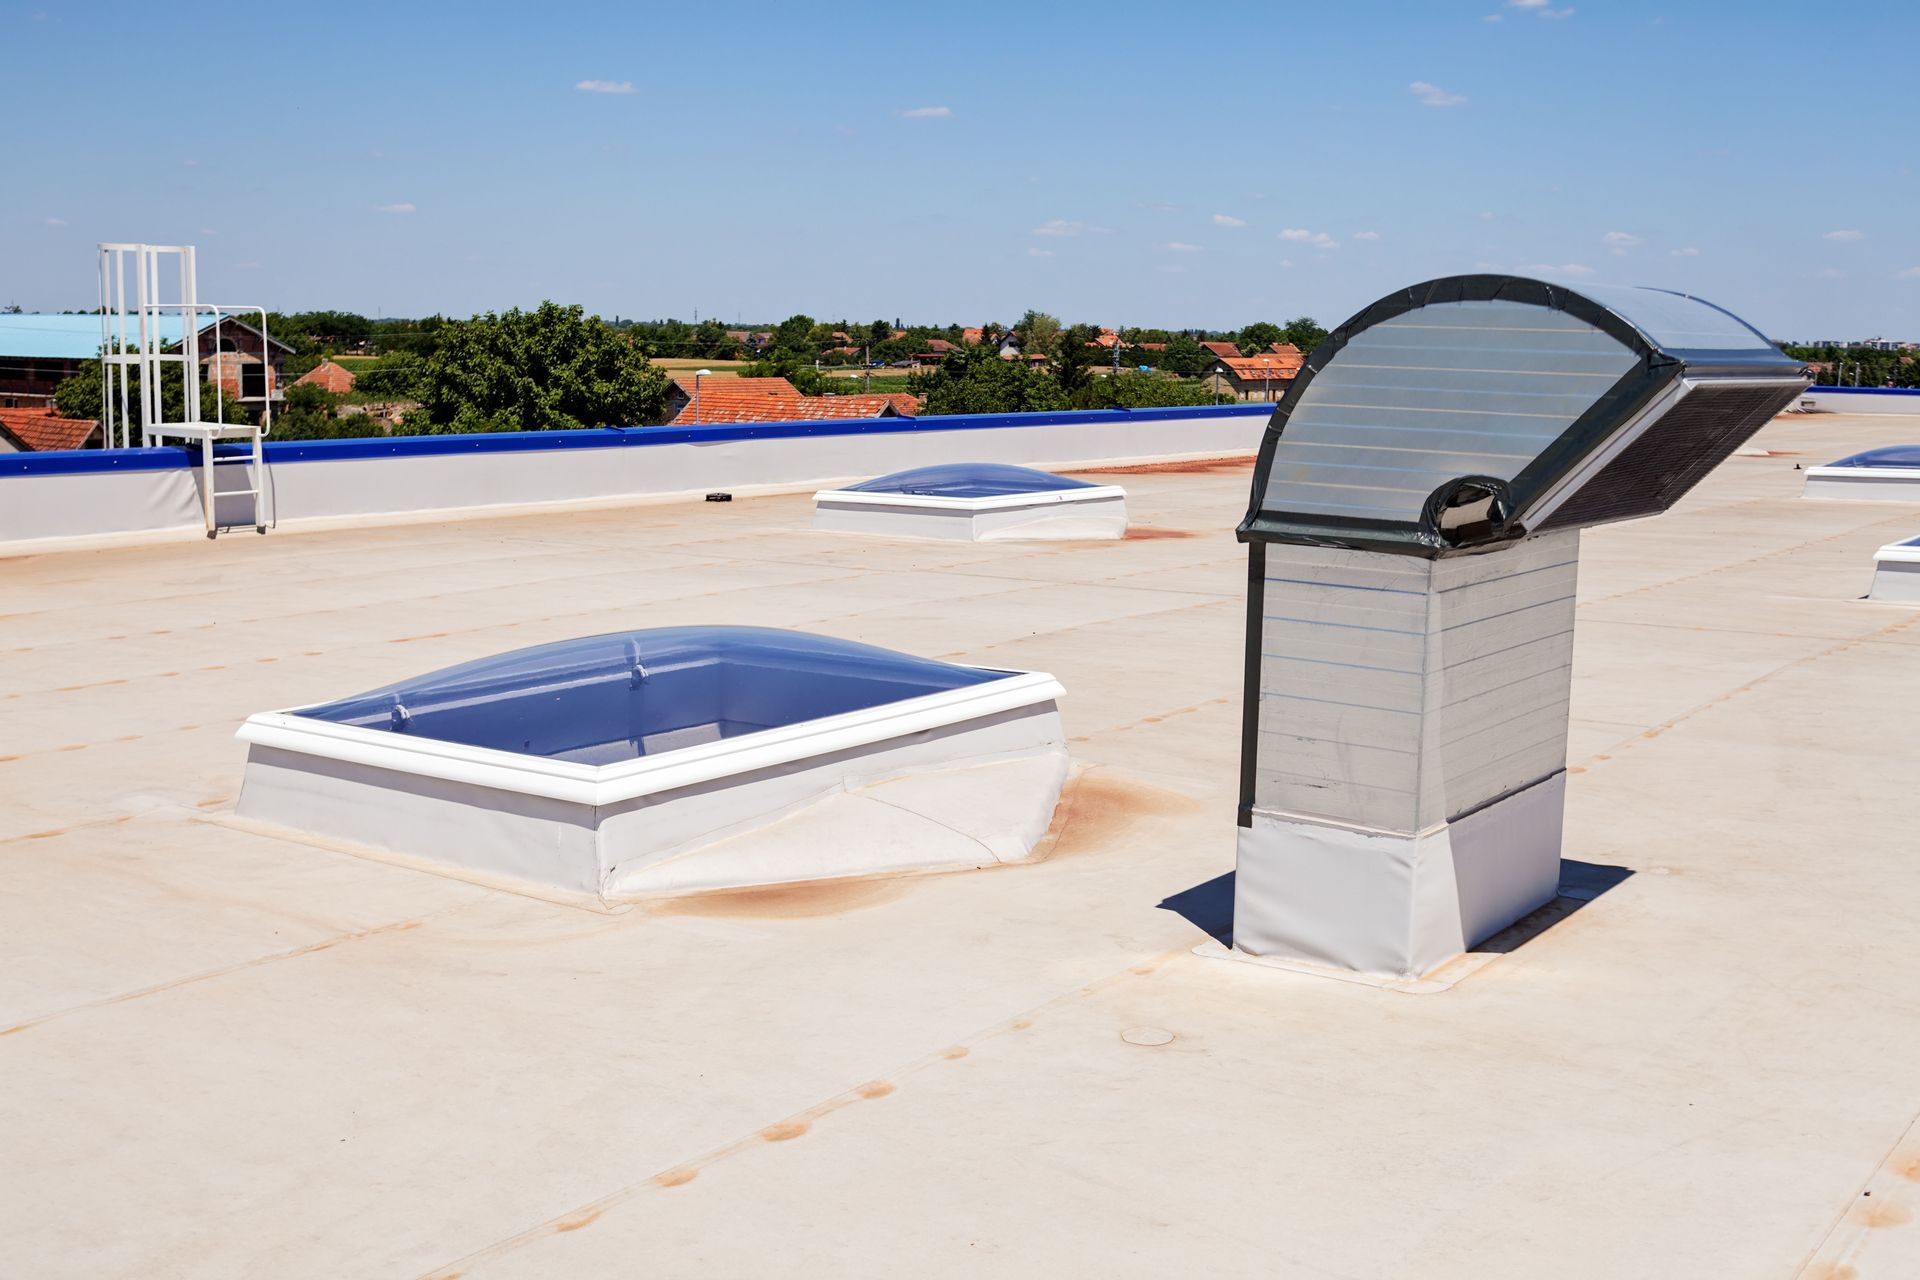
Technicians must also secure panels around penetrations like chimneys and ventilation pipes. They cut custom holes in the metallic sheets to accommodate these obstacles. Specialized pipe boots slide over vents, creating a flexible seal. Workers apply durable sealants around these vulnerable areas to block hidden leaks. Securing the material around obstacles demands immense skill and patience from the construction team.
Phase Four: Finishing the Edges
The final stages of a roof installation focus on sealing the highest points of the structure. The ridge line remains exposed until workers apply the custom ridge cap. This specialized metal cover straddles the peak, shielding the gap between opposing panel arrays. Before attaching the cap, installers lay down a breathable closure strip. This strip prevents wind-driven rain from entering while permitting attic ventilation.
Attaching the ridge cap requires the same hidden or exposed fastening methods used on the main panels. Builders align the cap flush with the peak to ensure a balanced aesthetic. They drive screws through the cap and into the supporting structure beneath. The breathable closure strip compresses, forming a weather-resistant barrier. This peak protection acts as the ultimate defense against the elements.
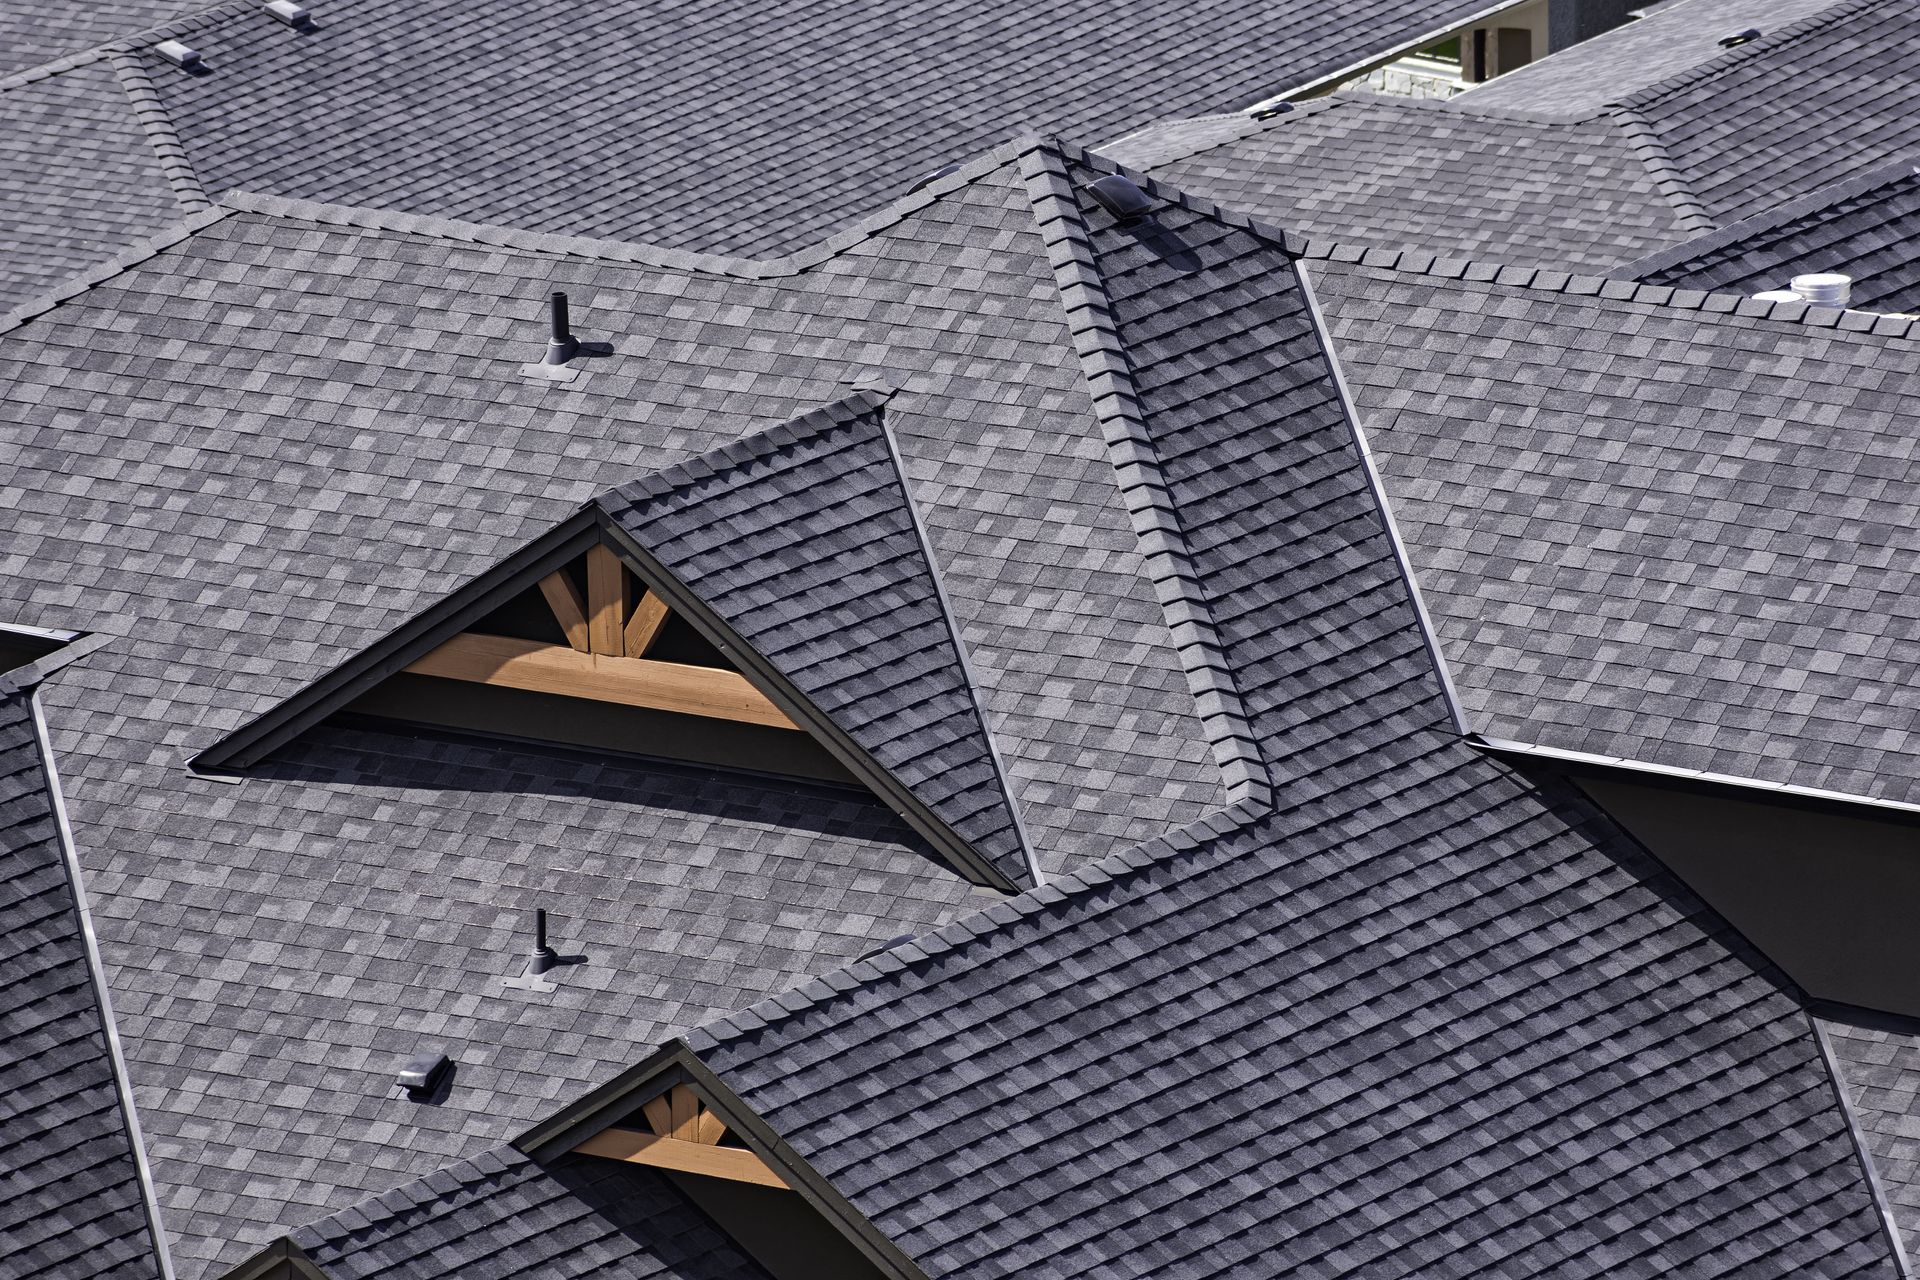
Gable trims cover the exposed edges along the sloping sides of the house. Installers slide these trim pieces over the outer edge of the exterior panels. They fasten the trim to the fascia board. Gable trims provide a clean, finished appearance while blocking wind from lifting the panel edges. This perimeter security enhances the structural integrity of the entire system.
A comprehensive cleanup concludes the exterior work. Workers scour the ground and gutters for stray screws, metal shavings, and discarded materials. Magnetic sweepers collect hidden metal shards in the grass. A pristine worksite demonstrates respect for the property and prevents injury. The builders conduct a thorough visual inspection to verify every seam, screw, and flashing piece rests in perfect condition, ready to face the elements.
Upgrading to a metallic roof transforms the protective capabilities of any residence. A successful roof installation demands rigorous preparation, strict alignment, and meticulous fastening. Each phase builds upon the previous stage to create an impenetrable barrier against nature. Homeowners gain peace of mind knowing their overhead structure possesses supreme durability. This investment enhances property value while reducing long-term maintenance burdens, making it a wise architectural choice.
Understanding the mechanics behind this construction process highlights the value of skilled craftsmanship. The transition from raw decking to a gleaming metallic peak represents a triumph of engineering and labor. A masterfully completed roof stands as a testament to quality materials and human effort. Residents shelter beneath these structures, protected from the elements for generations to come, regardless of local climate variations. Reach out to Safe Choice Roof Systems Inc today to schedule a consultation for your home. Our experienced team is ready to guide you through a seamless roof installation from start to finish.